Bill Watts - July 14, 2015
Since the dawn of the digital age, printers have been close companions to computers, allowing electronic text and images to be transferred to physical paper. As electronic communication has become more popular, printer usage has actually declined as users have become more comfortable with viewing screens. However, a new type of printer technology - 3D Printers - offers a renaissance for the idea of transferring electronic creations into the real world. A 3D printer uses a digital model to create a physical three-dimensional object.
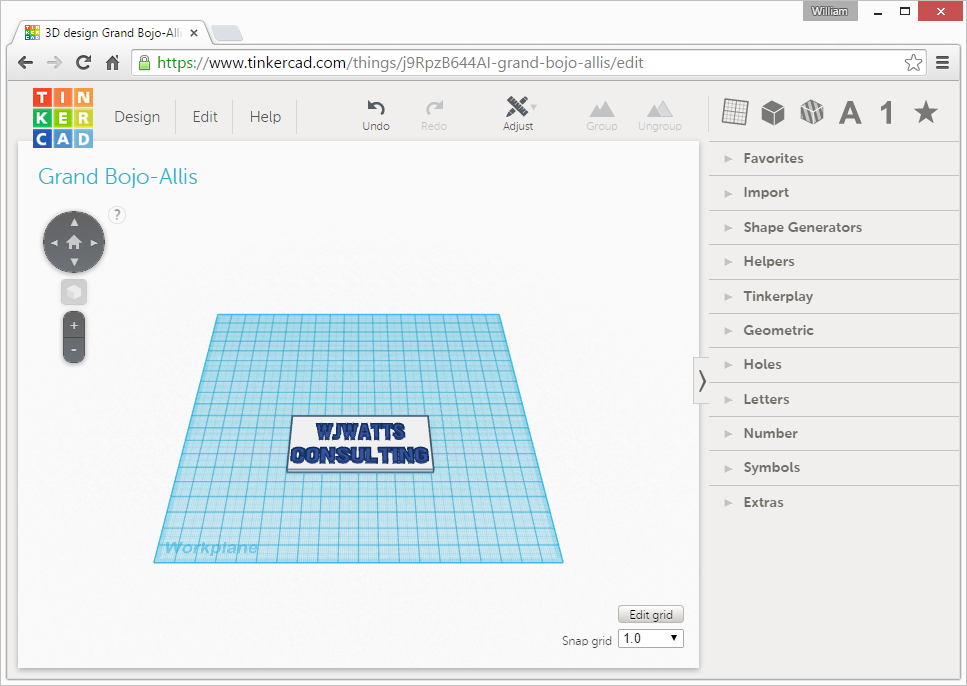
Tinkercad
The first step in 3D printing is creating a 3D model. Tinkercad is a popular website that allows users to design 3D models. I created an account (for free) on the Tinkercad website and watched a couple of tutorials to become familiar with the process. The Tinkercad software is amazing, very professional with extensive easy-to-use functionality.
I knew I wanted a simple 3D model - a small sign with my company logo raised above the background. I tried to design my 3D model from scratch, which was fun but probably wouldn't have led to a good finished product. Eventually, I selected the 'Image Generator' from a huge list of predefined templates and tools. That allowed me to upload my company logo as a PNG file and convert it to an STL file usable with a 3D printer.
Maker Lab
Next, I made a reservation to use a 3D printer on the Cincinnati Public Library website. The downtown library has an entire lab devoted to 'Makers', or people interested in the creation of physical objects.
In the library's Maker lab, I used the MatterControl software, another free software program. MatterControl is the 'slicer' software that transmits the 3D model to the 3D printer. To do this transmission, MatterControl renders the 3D model to determine each physical layer that will be printed. MatterControl also writes the 'GCode' (known as 'GoCode' in the CNC Milling world), the path that the printer will follow to print the 3D object correctly, minimizing starts and stops that would reduce the output quality.
Lessons Learned
With MatterControl, I was able to see several issues with my 3D model before the printer actually created it:
- My sign was was only 20 millimeters wide, which was too small.
- My logo wasn't raised enough above the background. A minimum 2:1 ratio for raised logo to background would print and look better.
- The 'Image Generator' template created a fuzzy 3D model, even with my high-quality PNG input. Since my logo is mostly text, I'm better off simply using a built-in Tinkercad font for designing the logo.
- MatterControl is much better at rendering the actual 3D output than Tinkercad. On future projects, I'll download MatterControl and make it a part of my overall model design process. Some more-advanced software tools combine the model design and render steps. The final output will always be limited by the actual capabilities of the 3D printer.
- Like all technology, 3D printers often break. On the day that I was at the library, all three printers were non-functional for various reasons, so I was unable to print my final product. Needless to say, the design and render process was incredibly easy, and I look forward to much more interaction with 3D printers in the future.
The Tinkercad model design tool: